How to Fix P2149 Code On Cummins? (Complete Solutions)
Fortunately, today’s manufacturers, especially after 1996, have installed onboard diagnostic (OBD) systems that provide codes to identify specific issues. These codes are universally recognized by all manufacturers and have been defined so that diagnostic equipment can read them.
However, the P2149 on a Cummins is one of such codes, indicating a problem with the fuel injector supply voltage circuit. It means the fuel injectors aren’t spraying as effectively as they should.
As soon as you get the code, the first question that may come to mind is: how do we fix it? No worries, in this article, we will discuss code P2149 in detail and tell you how to fix it. Let’s go.
What Does Code P2149 Mean On Cummins?
The code P2149 means Cummins has an issue within the fuel injector’s supply voltage circuit. When you get a code P2149, your Cummins Bank 2 fuel injectors are either shorted high or low. Here, Bank 2 most likely refers to cylinders 4-6.
It happens when something goes wrong with the injector, such as the fuel injector harness being open or the fuel injector group 2 circuit having a poor electrical connection.
We’ll get more specific about the cause later in this article when discussing the solution. Here is the dissection of code P2149.
- P– Powertrain (engine and gearbox)
- 2– a generic numbers derived from the SAE standard
- 1– Specific system with the issue, In our case, it is a fuel injector.
- 49– Represents the specific fault description. In our case, it is “fuel injector bank two supply voltage circuit/open.”
How Serious Is P2149 Code on Cummins?
If there is a problem with the circuit, the voltage supply or the flow of electricity will not be steady. It could lead to a severe problem. For example, the air/fuel ratio of the engine must be perfect for it to run at its best.
If the voltage supply is volatile, there could be a lack of fuel in the mixture. In this case, the engine will not produce the maximum amount of power.
This condition of the engine is referred to as a lean condition. Running the engine with this problem may result in engine damage in the near future.
What Are The Symptoms of the p2149 Code on Cummins?
The most common symptom is inefficient engine performance because the air and fuel mixture in the cylinder may not be perfect. The other symptoms include:
- The poor engine performance.
- Fuel economy
- EconomyEngine misfire.
- Airflow measurements might become inaccurate, resulting in erratic engine idle.
- Engine smoke when starting
- Engine noises
- And a lack of power is also a warning sign to consider.
What Causes p2149 Code on Cummins?
A variety of factors can cause P2149 codes on Dodge Cummins. However, the most common cause is a defective or damaged fuel injector. Other potential causes include:
- If the bank two fuel injector fails, you’ll get the code.
- Due to their location in the car, wires are vulnerable to physical damage.
- Poor electrical connection.
- ECM itself has a problem.
- The nuts of the injectors are loose.
How to Fix the P2149 Code on Cummins?
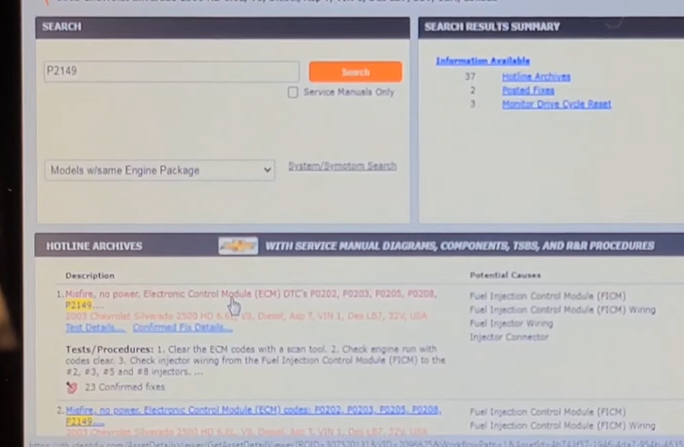
Let’s see what we can do about the code. You need the Scan tool because we will check other DTC first. If we have other DTCs, including P0204, P0205, or P0206, you have to solve these issues first before solving P2149.
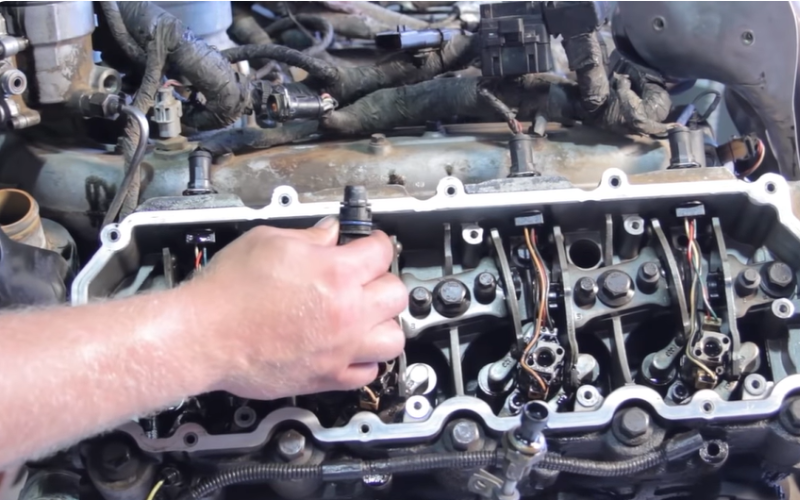
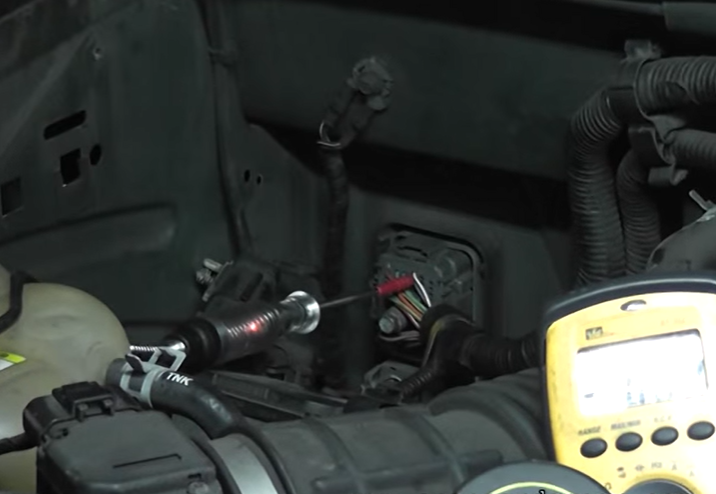
To check the resistance, we need a multimeter. Remove the valve cover and the 8mm nuts on 4-6 injectors before starting the diagnostic.
We will check the resistance of the injector solenoid and other things using an ohm. It’s ideal if each of them has a reading of around.6.
If the reading is more significant than one, you have a faulty valve cover gasket with built-in injector wiring. In that case, set your ohms to test the injectors and wiring.
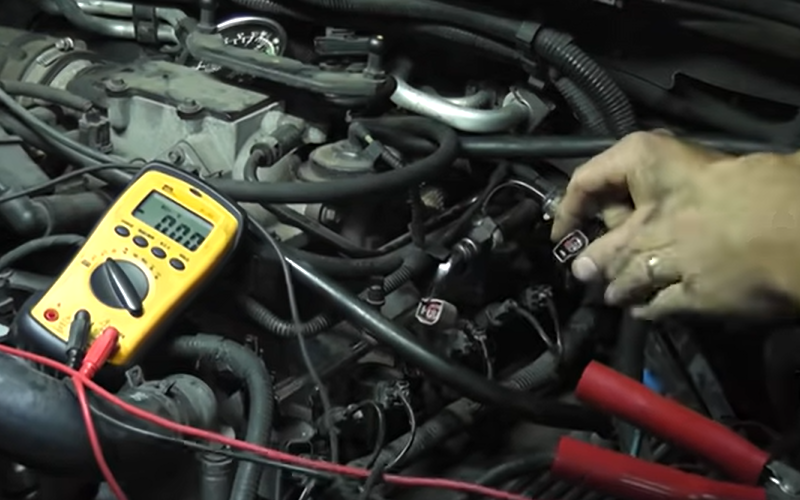
Step 1. Check the resistance of the injector connector
At the ECM connector, measure the resistance of each Bank 2 low circuit to all other Bank 2 low circuits.
If the resistance is greater than 100k ohms, then it is okay. We’ll investigate the other resistance. Replace the wiring of the injector if the resistance is expected.
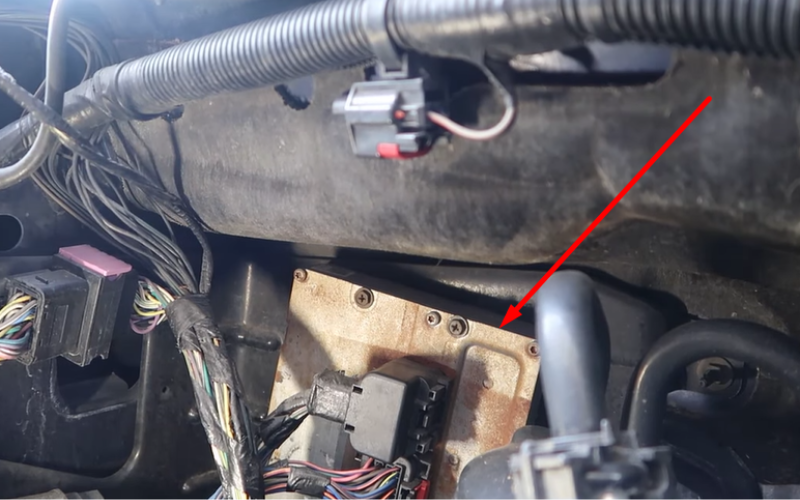
Step 2: Identify the resistance of the ECM and Injector
Check the connectors before starting the task, and clean them. Now, remove the the bank 2 injectors’ wiring.
It’s time to check the resistance between the ECM wire and injector wire for Bank 2 low circuit.
Step 3: Check the resistance of the ECM and injector
Doing the same as in step two. Identify the resistance between ECM wire and injector wire for Bank 2 high circuit.
.Repairing the circuit is a good idea if the resistance is more than the expected limit. Check the factory manual for limits.
Step 4: Measure the resistance of the high-to-low circuit
At this stage, we will see the resistance between the high circuits of bank 2 to the low circuit of bank 2 injector.
Step 5: Check the resistance of the high circuit to negative terminal
For bank 2 injectors, check the resistance of the high circuit of the injector wire and the negative terminal of the battery.
Step 6: Check the resistance of the low circuit to negative terminal
Again, check the measurement. Step six is slightly different than step 5. low circuit of the injector wire and the negative terminal of the battery. Take the appropriate step if the resistance is not more than 100 kOhms.
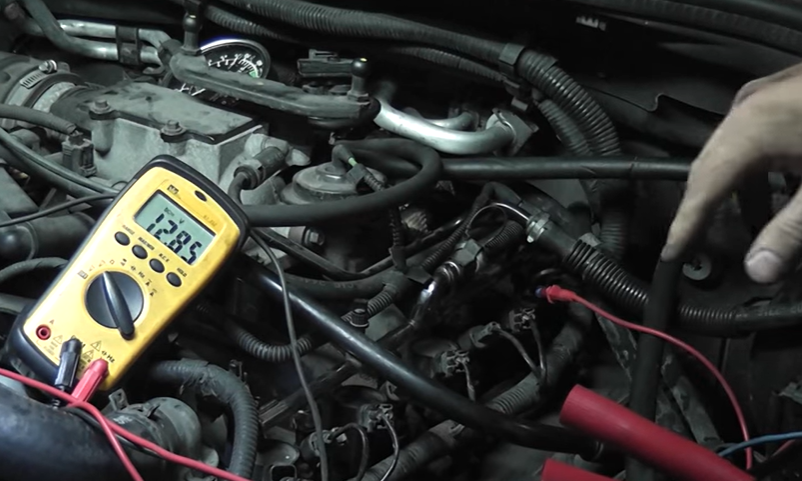
Step 7: Voltage & negative terminal
At this point, we’ll check the voltage in the engine wire and the battery’s negative terminal.Before you do that, turn the key in the ignition. If the voltage exceeds 1 volt, the high side driver should be repaired.
Step 8: Voltage and negative terminal
At this point, we’ll check the voltage in the low circuit engine wire and the battery’s negative terminal.If the voltage exceeds 1 volt, the low side driver should be repaired.
Step 9: Check resistance from low Circuit to low Circuit
See the resistance of each 4, 5, and 6 low circuit to all other Bank 1 low circuits. If the resistance exceeds 100 k Ohms, repair the low circuit driver.
Step 10: Injector Circuit Inside the Engine
Set your ohmmeter to zero before testing the injector circuit. Now check the resistance through the head connector. If the resistance is less than 1 ohm, proceed to step 11. If the resistance is greater than one ohm, proceed to step 14.
Step 11: Circuit in the Injector Harness
If you haven’t already, remove the bank 2 injectors nut. Go ahead and do it. Set the ohm to zero. From the nut to the injector, measure the resistance of each circuit in the injector. If the ohm is greater than 1 ohm, replace the injector.
Step 12: Injector solenoid

At this point, check to see if the resistance between each injector’s solenoid posts is less than or equal to or more than 1 ohm. Replace the fuel injector if it is more than 1 ohm.
Step 13: Injector
Now check the resistance between a solenoid post and the battery’s negative terminal. Again replace the injector if the ohm is more than 1.
Final Result: Reconnect everything and check the DTC once more.
- Reattach all the nuts
- Reattach all the wires.
- Connect all the injector wires.
- Turn on the engine.
Test Result:
Recheck the DTCs with the scan tool. If the same code appears, don’t worry; simply replace the ECM and program it according to the manual information. If the DTCs do not return, you are done. The test is completed, and you’ve come up with a fix for code P2146.
How Much Does it Cost to Fix the Dodge Cummins P2146 Code?
The cost of fixing the code depends on the cost of testing and finding the issue and the cost of replacing the parts.
The cost of testing all 14 of the steps we mentioned earlier, for example, will be around $100. Another cost is the cost of replacing parts, such as injectors. So far, we know that the charge for rebuilding is about $595 with a one-year warranty.
Can You Drive Your Cummins with P2146 Code?
It is recommended that you do not drive the car after receiving the code. Earlier, we mentioned the associated risk of code P2146.
If the code appears, the engine isn’t performing at its best, and the air/fuel mixture isn’t correct. So, running with this code means possible damage to the engine.
Conclusion
For some of us, getting the proper fix for code P2149 is problematic because it’s difficult to tell which of the above steps is incorrect. According to our research, the 14 steps mentioned earlier are the best way to fix the code.
If it is too heavy to tackle for you, find the right practitioner. Most importantly, do not panic if you receive the code; it is common for most car owners.
Related Posts: